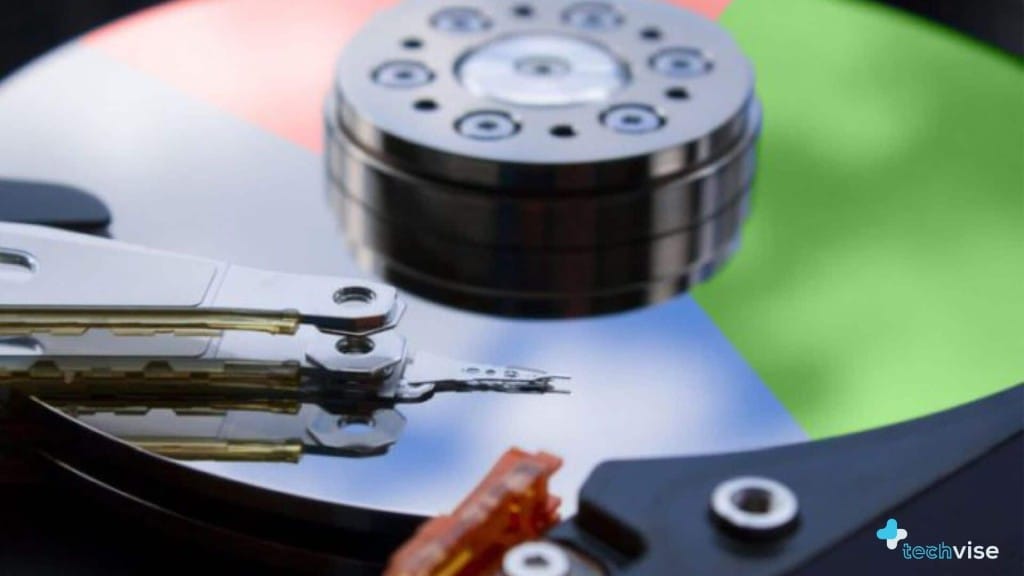
Do you want to partition your hard drive of a windows 7 machine?
No matter how difficult and dangerous it sounds, its not, on the contrary it’s pretty easy. If you want to know how to do it then no worries, by following these easy steps, you won’t have any trouble doing it yourself.
Every Computer comes with a C: drive, which usually hosts the operating system files. You may also have a hidden partition used for recovering your system should anything go wrong with it. Just keep in mind your Drive C has to stay and cannot be renamed.
But for the time let’s assume you have a PC with Windows 7 and the only drive you have on it is Drive C: and now you want to divide that into smaller partitions. These are the steps you will follow.
Step 1: Run Disk Check
First you need to run a disk check. Follow the easy steps to run Disc Check for errors before chopping up the one drive you have into more pieces.
- Open the “Computer” window
- Right-click on the drive in question
- Select Properties.
- Select the “Tools” tab
- In the Error-checking area, click <Check Now>
Step 2: Find Disk Management
Your aim here is to find Disk Management and there are two ways to find that:
- Click “Start”
- “Control Panel”
- “System and Security”
- “Administrative Tools”
- Then double-click the “Computer Management”
- “Disk Management”
The other way is:
- Right click “Computer”
- Select “Manage”
- Get the new control panel
- Open “Storage”
- Choose “Disk Management”
Step 3: Partition Your Hard Drive
- In Disk Management, Right-click an “unallocated region” also marked as “Disk 1” and then click New Simple Volume.
- A wizard will open which will guide you through the step by step procedure. Click Next
- Type the size of the volume you want to create in megabytes (MB) or accept the maximum default size, and then click Next.
- Point to Note: If you are aiming for a 100 GB partition, you will have to introduce 102400 MB in the dialog box. (Easy is to multiply your new hard-drive partition size by 1000)
- In the dialog box click Next.
- You will have to assign a letter to it. I suggest start with F, because if you’re like me you will redo the drive letters to put your disk drive at the end.
- Give it a “volume name”
- Choose a “format type”.
- NOTE: You can choose between NTFS and FAT. Here’s a quick breakdown in case you have no idea what those two mean. If this new partition is nothing but a simple extra Windows drive, go with NTFS. If you want the drive to be compatible with a Mac then choose FAT.
- Review your choices once again and then click Finish.
The process will take 5-10 minutes max if you have understood the procedure and follow these easy steps. If you experience a hiccup, you can always mention it in the comments below.
If you’re not in the mood to go through all these steps above, you can always download the Free Hard Disk Partition Software. The Standard edition should take care of all your immediate needs. If you need enhanced capabilities such as moving free space from one partition to another, change partition types and move OS from one partition to another, you might want to give Partition Assistant Professional Edition a try.
Good Luck!

