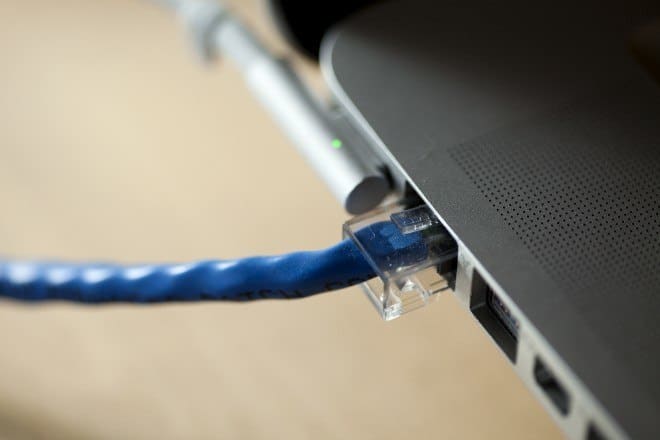
A few weeks ago we talked about creating an internet hotspot on your Windows 8 PC, so this week we are turning our attention on Apple and creating an internet hotspot on your Mac. Having an internet hotspot on your Mac is great for sharing internet connections with those who are around you. Perhaps you and your friends are on vacation, but the hotel only has an Ethernet connection (a dark ages idea, I know, but it still happens).
Turning your Mac into an internet hotspot is a great (not to mention smart) alternative to sharing that single cable. The good news is that it is significantly easier to create an internet hotspot on you your Mac than it is a Windows 8 PC. As always though, the target computer requires a cabled (Ethernet) connection.
CREATE INTERNET SHARING ON MAC
1. Access System Preferences
Any mac with OS X Lion or higher will be able to create a hotspot in these simple steps. The first thing you will want to do is access your System Preferences and head over to the Sharing section. System Preferences is similar to the Control Panel on Windows. It allows users to adjust their system’s settings to their exact specifications. Once you you are in Sharing, follow step two.
2. Turn on Internet Sharing
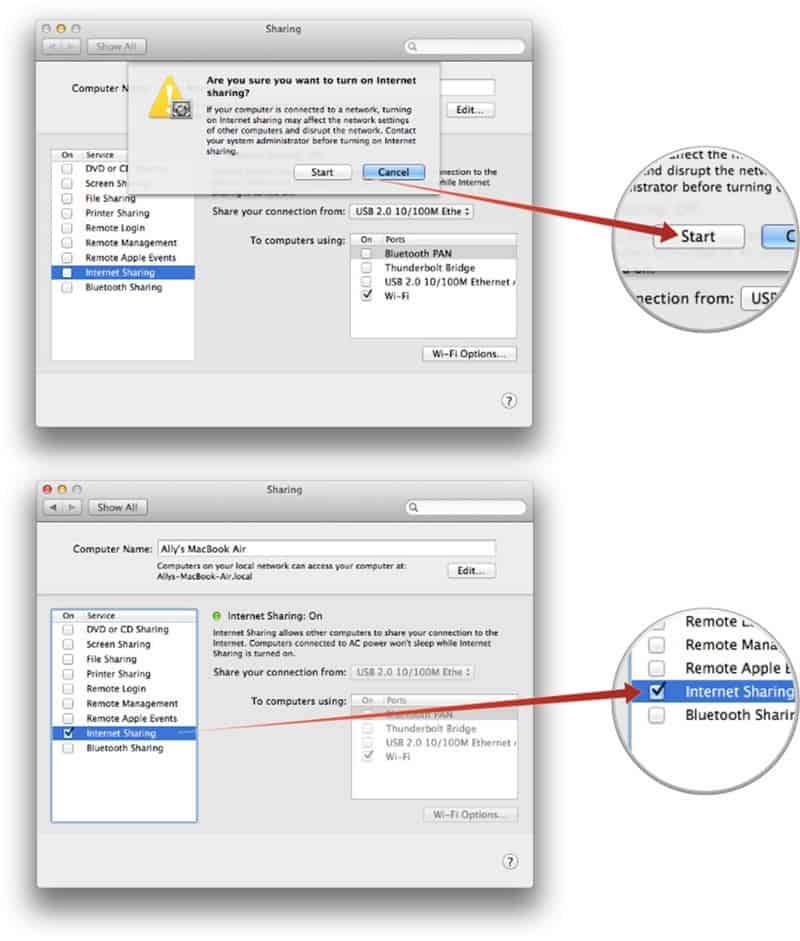
Now that you are in the Sharing tab, the screen should be broken into several sections. On the left side of the screen is a list of sharing services (DVD sharing, printer sharing, etc.). Internet sharing should be towards the bottom of this section. Click on it and make sure that it is turned on. Once you have opened internet sharing, you should see another section towards the bottom right of the screen. These are the internet sharing options. Make sure only Wi-Fi is turned on. You will also want to make sure you have the right connection selected for sharing. It should appear in a box just above the sharing section.
3. Create Your Ad Hoc Network/Password
Now that sharing is on, people around you should be able to see the network in their WiFi settings. But, you aren’t quite done yet. To make it easier for your friends to see the network, you will want to give it a unique and recognizable name. And, unless you want every passerby to hop onto your network, you will want to set up a password for the network. To create these options, you will want to stay on the internet sharing screen. Beneath the sharing section (where you selected WiFi), there should be a button that says WiFi options. Click on it. A window should appear that will ask you to do exactly what is specified above. It will ask you to create a network name as well as a password. Make sure the password is complex enough that basic hackers can’t access it, but simple enough so your friends don’t ask you a dozen times what it is.
As you can see, creating an internet hotspot on your Mac is significantly simpler than doing so on Windows 8. Now you’ll be able to share the internet wherever you go and whatever the circumstances. You might even look like a tech-wiz doing it.


